How to make your own glossy waterproof vinyl stickers at home without Cricut.
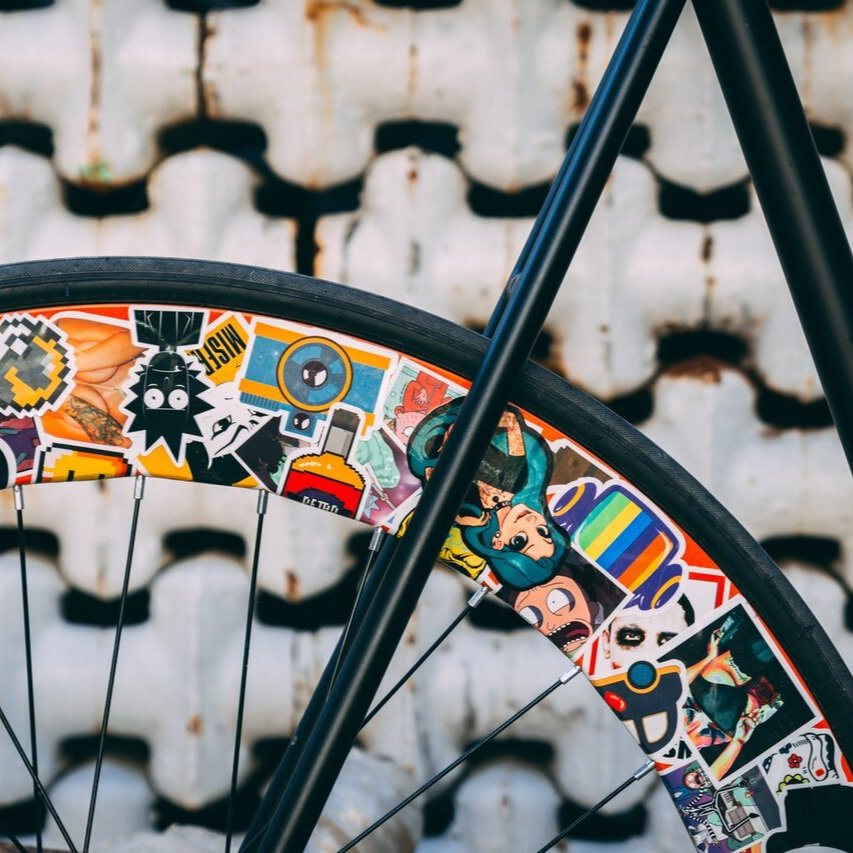
Photo by Stanislav Kondratiev from Pexels
Today, let's discuss the topic of custom stickers and how you can make them yourself.
Stickers are becoming an increasingly popular way to express oneself through street art or to customize a gift or home decor.
For example, you could add humor to your kitchen jars by labeling them with funny stickers or selling these kitchen jar stickers.
However, if you don't have hundreds of dollars for a cutting machine and other materials, don't worry!
Follow my instructions, and I'll show you how to create high-quality, glossy, waterproof stickers with your hands, printer, and scissors.
Photo by Brett Sayles from Pexels
Let's start with the printer.
It's important to note that a four-color 1200 dpi InkJet printer is necessary to achieve the best stickers to sell printing results.
I recommend the Canon Pixma TR8520 printer as it is affordable and ideal for small businesses in the arts or those who enjoy crafting at home.
This printer uses five high-yield cartridges for ink, which allows it to produce vibrant and high-quality prints, even on thick professional paper.
I can still remember the day I received my first order on Etsy.
I didn't even have my website, printer, mailers, or paper back then.
My wife and I went to all the stores in New Orleans, searching for a budget printer that could print on thick card stock.
We left early in the morning and only finished in the evening when we met a professional consultant in the printer department who recommended using Canon Pixma TR8520.
It's been four years since then, and I still believe this printer is a gem for small art businesses like mine.
On a separate note, were you aware of Amazon Prime's student membership program that offers a free 30-day trial period?
After the trial, students receive a 50% discount on the membership fee ( $7.49 \ per month ) and many other benefits.
Suppose you or a friend are a student.
In that case, taking advantage of this program is a great way to purchase all the necessary materials for sticker-making with free two-day delivery.
Once your purchases have been made, feel free to cancel the subscription. Voila!
This is just one of the many Amazon hacks that I'm happy to share with you.
Let's continue with more custom stickers tips!
The next destination is Printable Vinyl for Inkjet Printers.
I prefer to use Buttercrafts Sticker Paper for my kiss-cut stickers.
If you're interested, you can check out the stickers I've made from this paper.
Buttercrafts offers a wide range of sticker paper options, including glossy white - $11.99, matte white - $10.99, clear frosted - 13.99, kraft - $9.99, and even holographic - $14.99
The last time I tried replenishing my vinyl paper supply, I discovered their clear frosted, kraft and holographic paper was unavailable.
However, I hope it will soon be restocked and available for purchase.
I've tried other printable vinyl brands in the past, but I can confidently say that Buttercrafts offers unbeatable quality.
For only $10.99, you can get a pack of twenty 8.5x11-inch super durable, waterproof, and chemical-resistant sticker paper sheets.
Plus, there are no printer jams to worry about.
Photo by Eva Elijas from Pexels
Stickers Coating is a must.
You may wonder why you should bother with your custom sticker coating when you already have super durable vinyl paper.
While vinyl is the foundation of the water-resistant sticker that will protect the surface from the weather, it won't save the ink we printed on it.
So, If you want your stickers to maintain their high-quality vibrancy for at least five years, it's crucial to consider using acid-free and archival-safe laminating sheets.
Fixative sprays won't compare in terms of quality to lamination.
It's important to emphasize that the sheets you choose for lamination should always be acid-free and archival-safe to preserve your artwork and prevent it from fading.
I use Avery Self-Adhesive Laminating Sheets because they are affordable and provide water, weather, and scratch protection for my stickers.
And significant advantage of using them for making stickers is that we don't have to buy a laminating machine. Win-win!
Image by pavelkovar from Pixabay
And finally, the Sticker Making Process.
I believe you want your stickers to sell to maintain professional quality for years without fading or scratching. In that case, there are some essential factors to consider.
You can use any application or image editing software to create your custom stickers design but use the CMYK color scheme.
This is because your printer uses this color mode, and it will ensure that your sticker designs retain their color gamut during the printing process.
Remember that light colors, especially pink or yellow, may appear white during the CMYK printing.
Additionally, not all materials can provide your water-resistant stickers with longevity beyond one year. Therefore, it's essential to be cautious when selecting materials or take advice if you aim to make durable and removable outdoor decals.
You should choose only the best quality inks, paper, and laminating sheets.
Whether you're making stickers to sell, for a home, office event, or kitchen jars, take the time to research and get all the necessary supplies for your sticker printing job.
Image by Gerd Altmann from Pixabay
Let's begin!
First, create your custom sticker design using any application or image editing software you know. To ensure everything is perfect, print your design on a blank piece of paper of a similar size to your sticker paper sheet.
Then, load your sticker paper into your printer, checking the manual for special instructions. Be sure to send the sticker paper on the right side, especially if using matte sticker paper. You may not believe me, but I printed it several times on the back of the sticker sheet.
Once your design is printed, let the ink dry for at least ten minutes or more, depending on your ink and sticker paper quality.
Next, move your sticker sheet to a flat, clean surface, and stick it to the table using two small pieces of scotch tape. Ensure no bubbles, wrinkles, or dust are on the surface.
Take an Avery self-laminating sheet, tear off a peeling strip, and place it precisely over your sticker sheet.
Use a credit card to carefully dab the laminating sheet over the stickers, avoiding bubbles.
Afterward, remove the sticker sheet from the table, and use scissors to cut your stickers however you like. Voila! You have your vinyl stickers without Cricut or any other machine :)
Watch the video below to understand the process better and have some fun.
Don't hesitate to ask me any questions in the comment section.
Thank you!
Greetings! Have you found this article helpful?
If yes, please help me continue creating by buying a cup of coffee.
Caffeine helps me stay focused and brainstorm new ideas for future art business articles.
One loyal supporter is worth more than a thousand followers.
Thank you for the coffee!






Pinterest is an excellent platform for artists to promote and sell their work. With over 400 million active users, Pinterest is a massive audience of potential customers for your art. In this article, I'll show you how to use Pinterest to promote and sell your art in 2023.